
A step by step guide to connect Layer to Excel
You can sync Layer data to Excel via Layer's API. Take a look at the video above or follow along with the guide below.
1. Open Excel
- Open Excel and click the Data tab
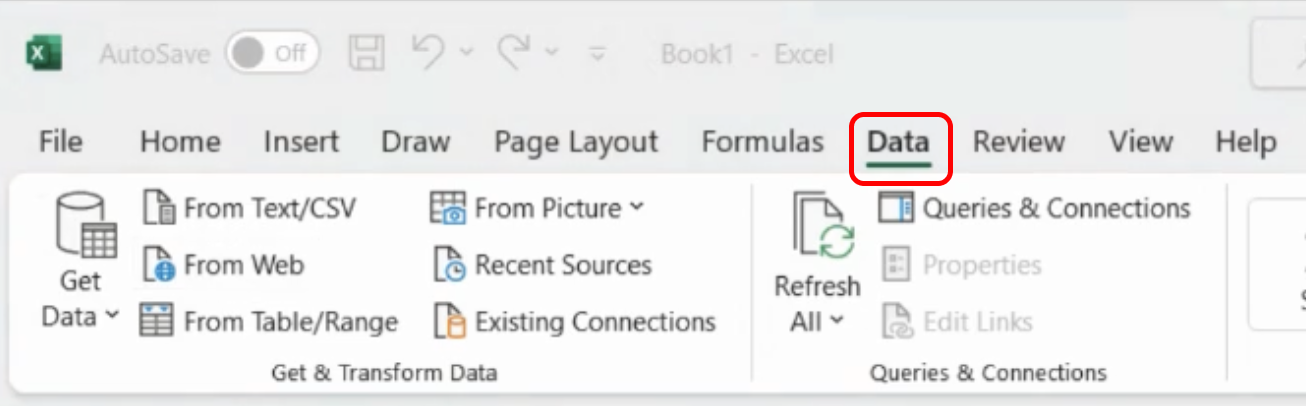
2. Setup Web Query
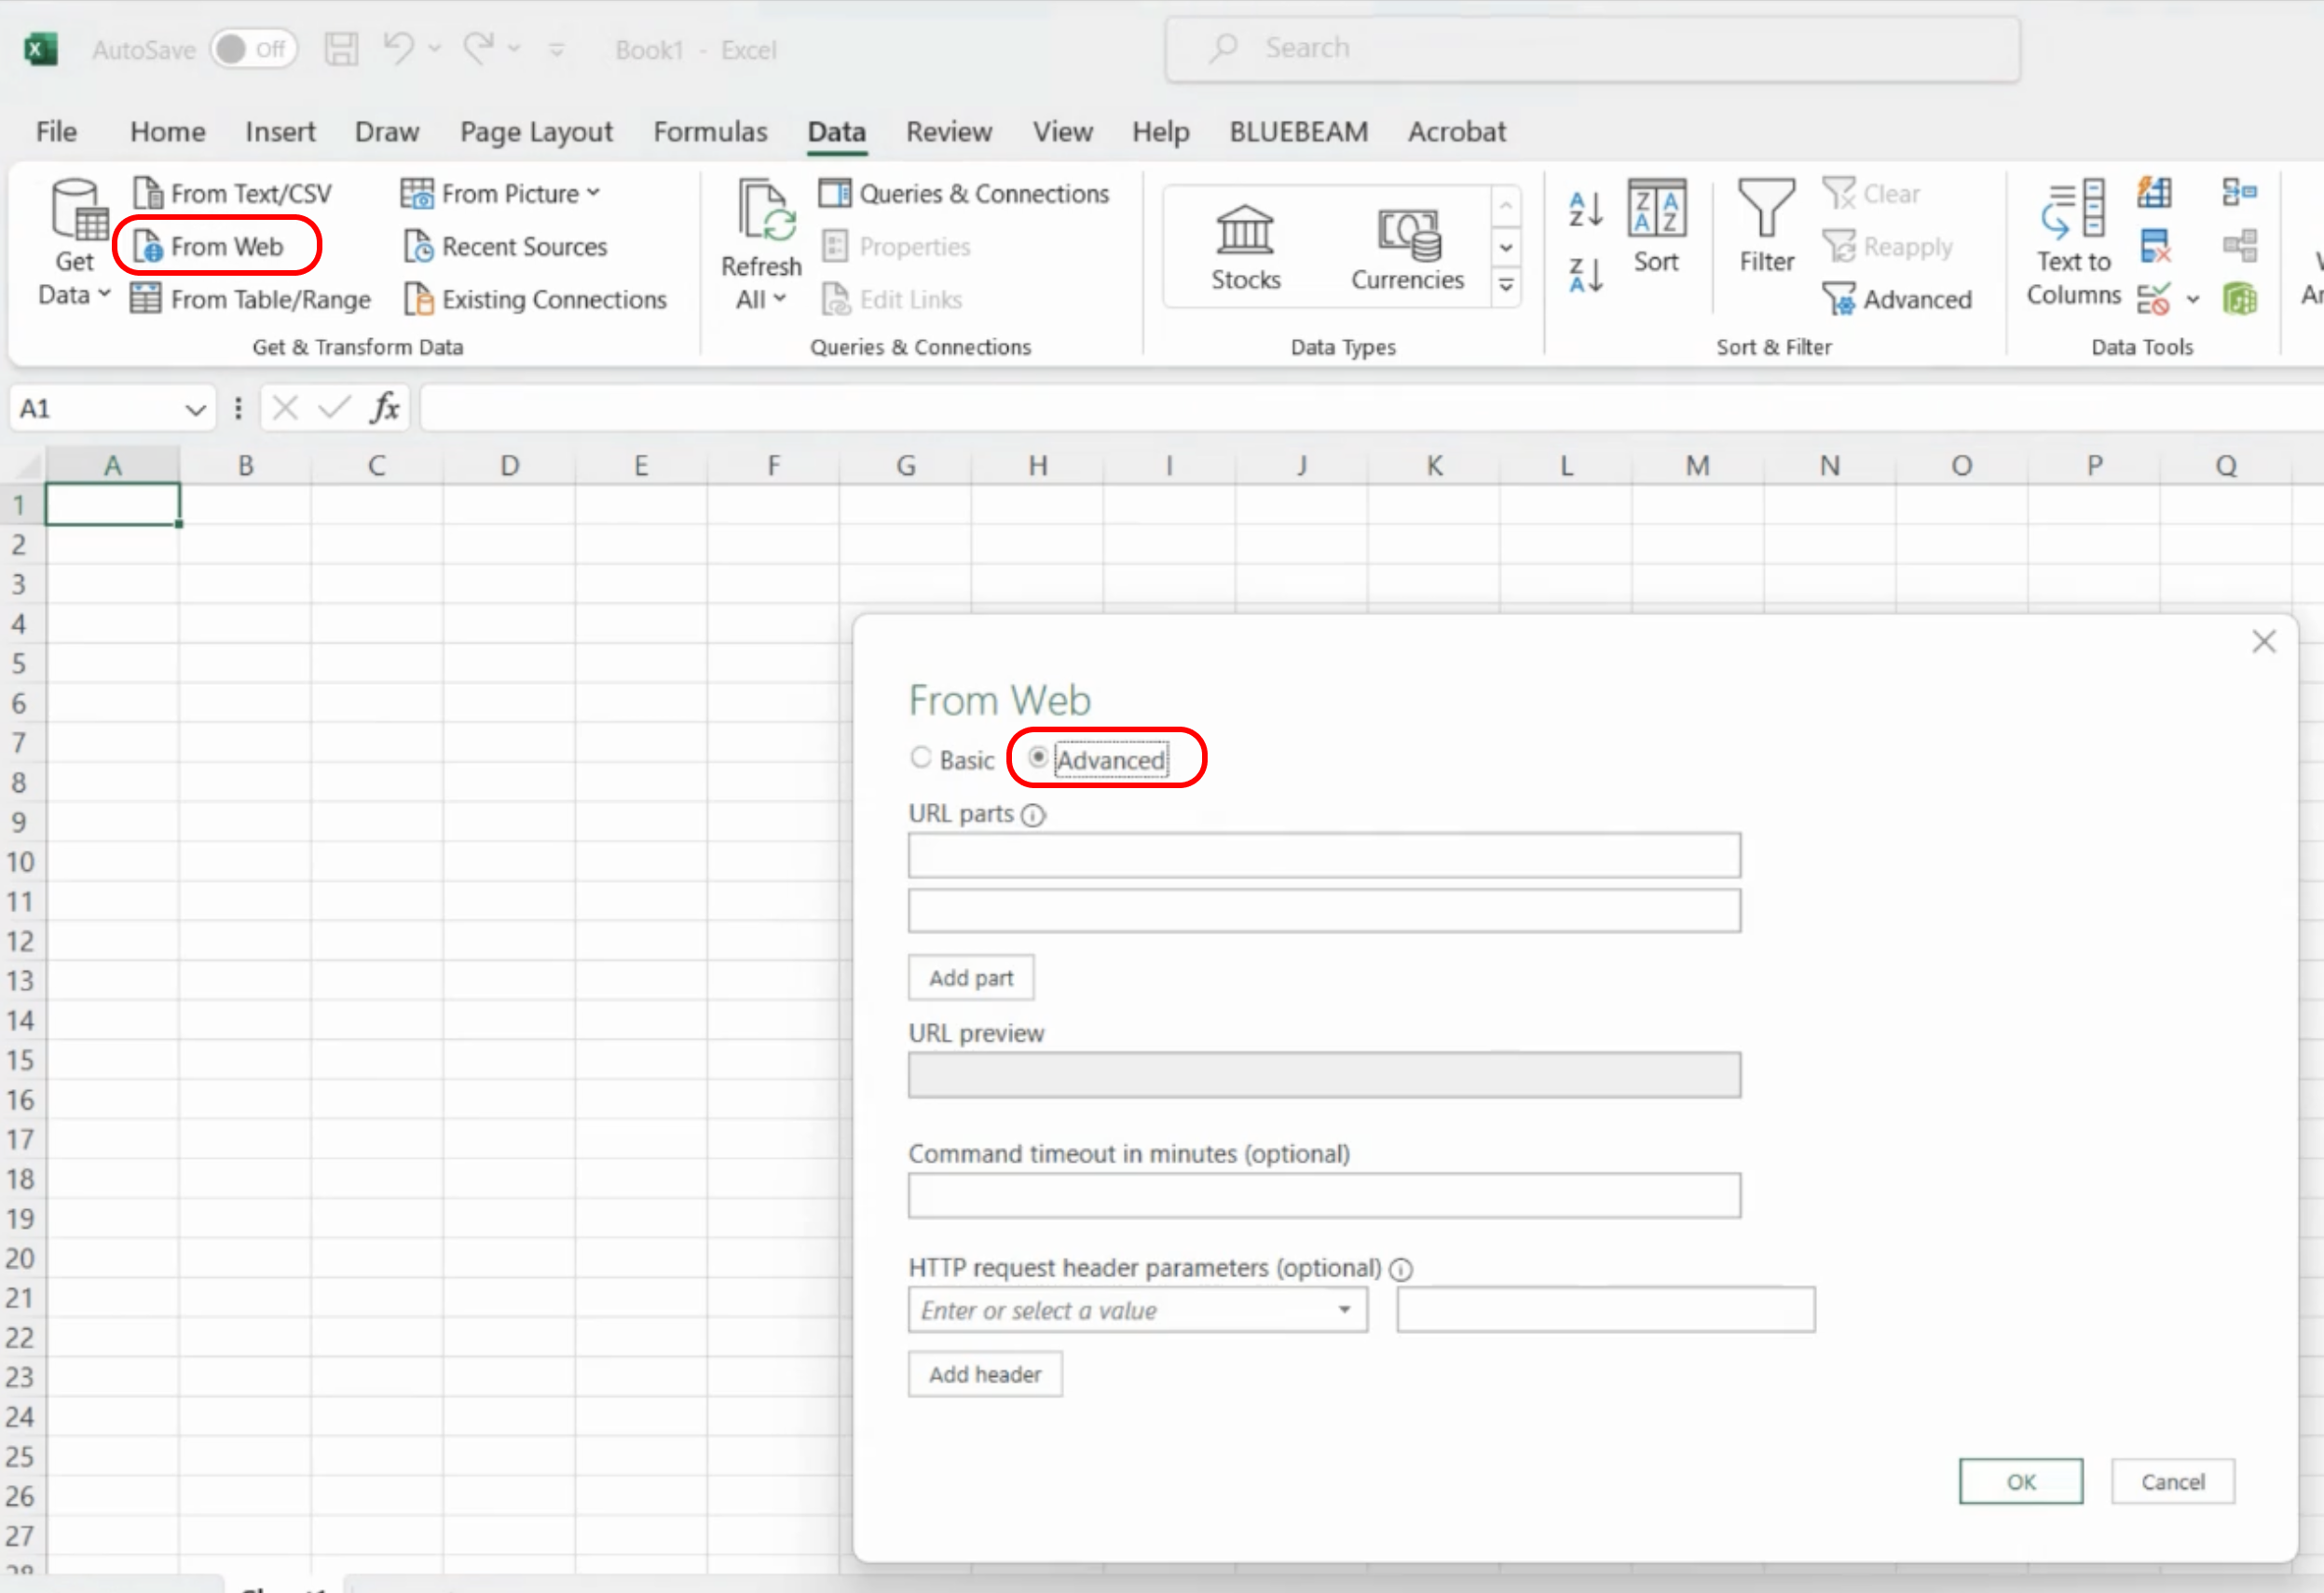
- Click From Web under the Get & Transform Data section. This will open the URL editor.
- Click Advanced.
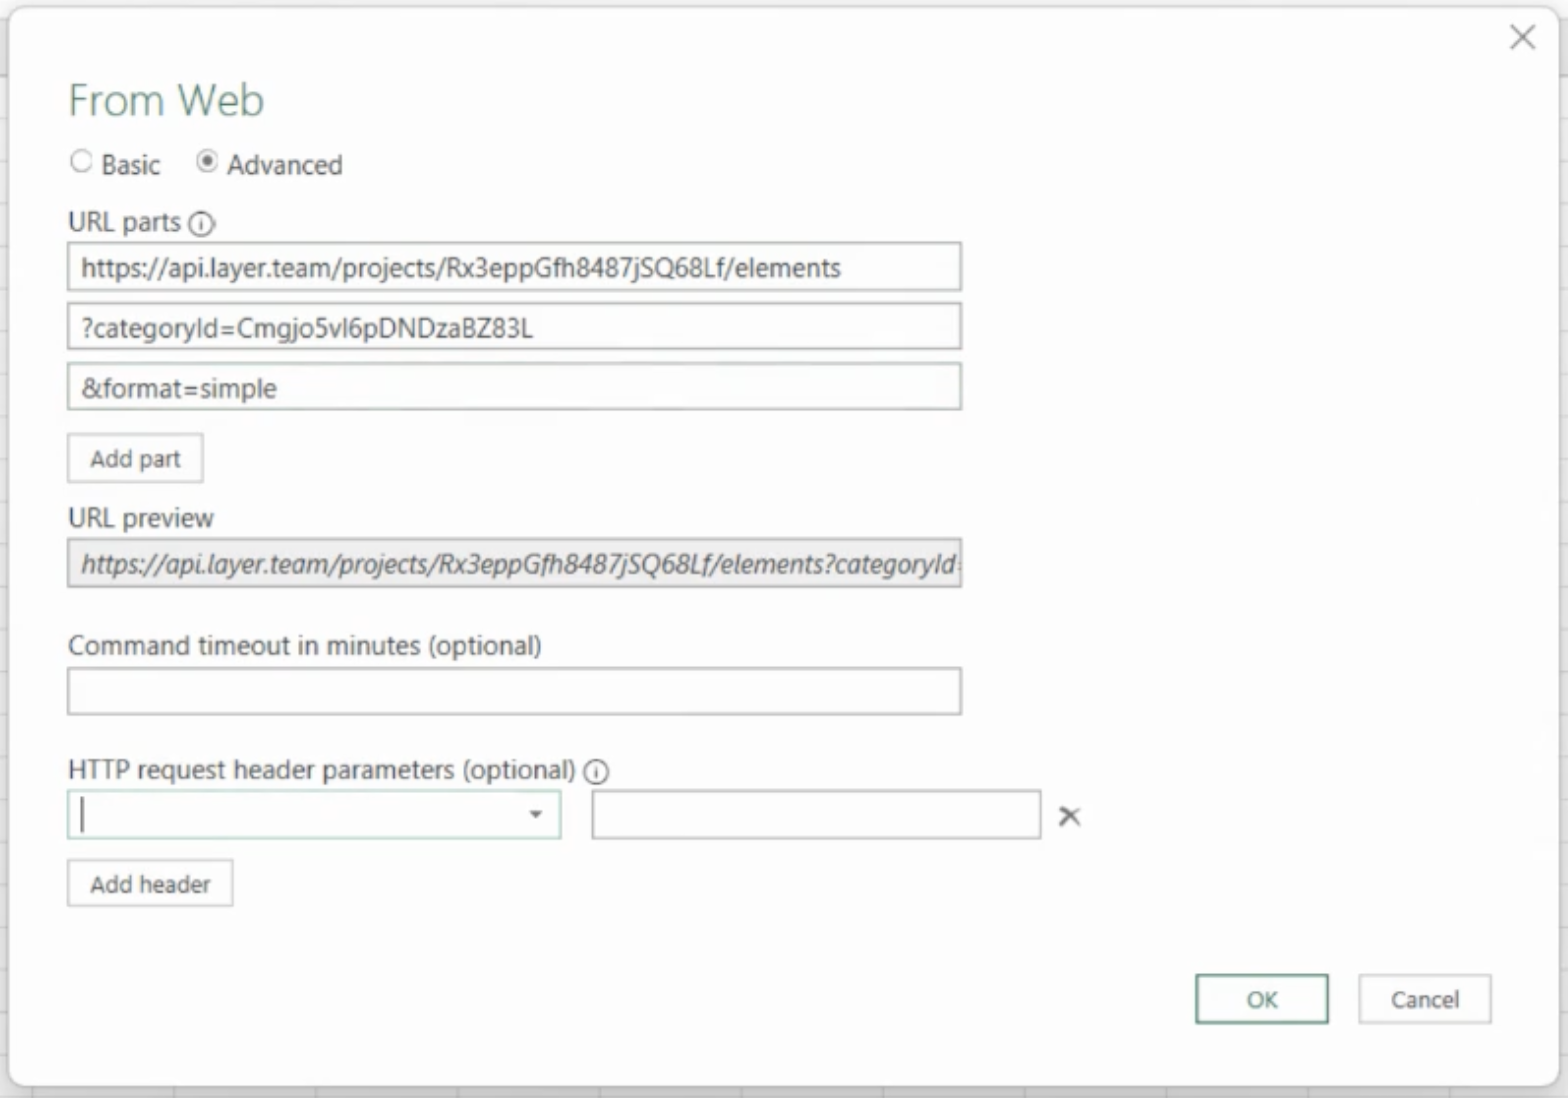
3. Configure URL Parts
- See image below for an example filled out.
- In the first box under URL parts, type your base URL which will always start with
https://api.layer.team/ - Add the endpoint
projects/ - Navigate back to your layer project in your browser and locate your project ID in the URL after the word
project. Copy this ID. - Return to Excel and paste your project ID
- After pasting, type
/elements - In the next textbox, type:
?categoryId=followed by your category ID (which can also be found in your layer project URL after the word category). - Click the Add part button to add another parameter which you will fill in with
&format=simpleThis is an optional setting that will simpligy the data that is coming in through the API.
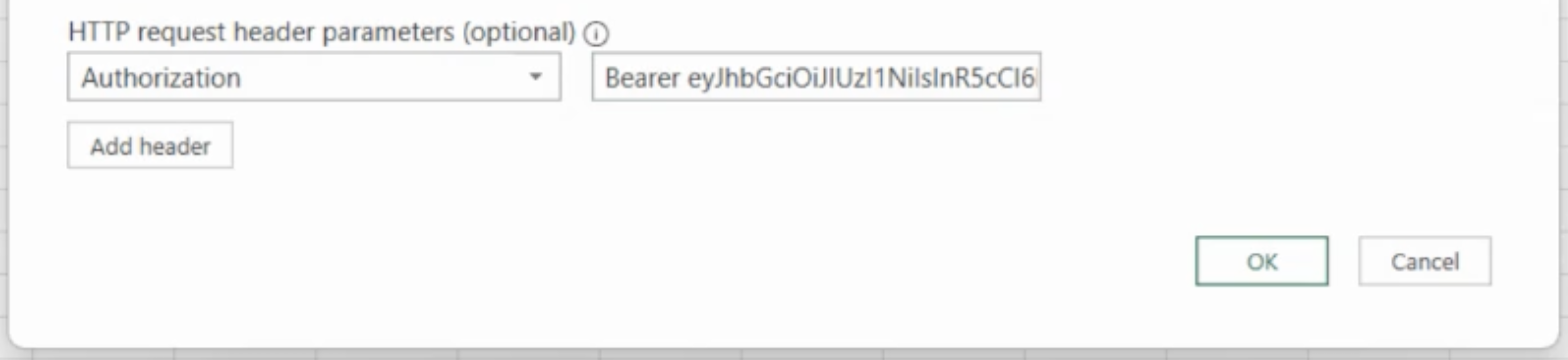
4. Authorize API Call
- Next we will fill in the header parameter found below under HTTP request header parameters (optional).
- See image below for an example.
- In the first box, type in
Authorization(This is case sensitive.) - In the next box type in
Bearer [Your API Token](There is a space between Bearer and your token) - Your API token can be found in your account settings in Layer under "Layer API Token" or click here. If you don't see your Layer API Token, reach out to us at [email protected] so we can give you access.
- When you paste your API Token into Excel, don't worry if it looks cut off. This happens because of the length of the API token.
Note: Your API token can be used to access any project in your Layer account so be sure to keep this token safe and not use the token in any public facing code.
5. Fetch Data
- Click 'Ok' to run the API call when you are done.
- This action opens Excel’s Power Query Editor.
6. Transform Data in Power Query Editor
- The following steps will only need to be performed once to setup your data. After that, you will just need to click Refresh to see updated data, formatted the way you want.
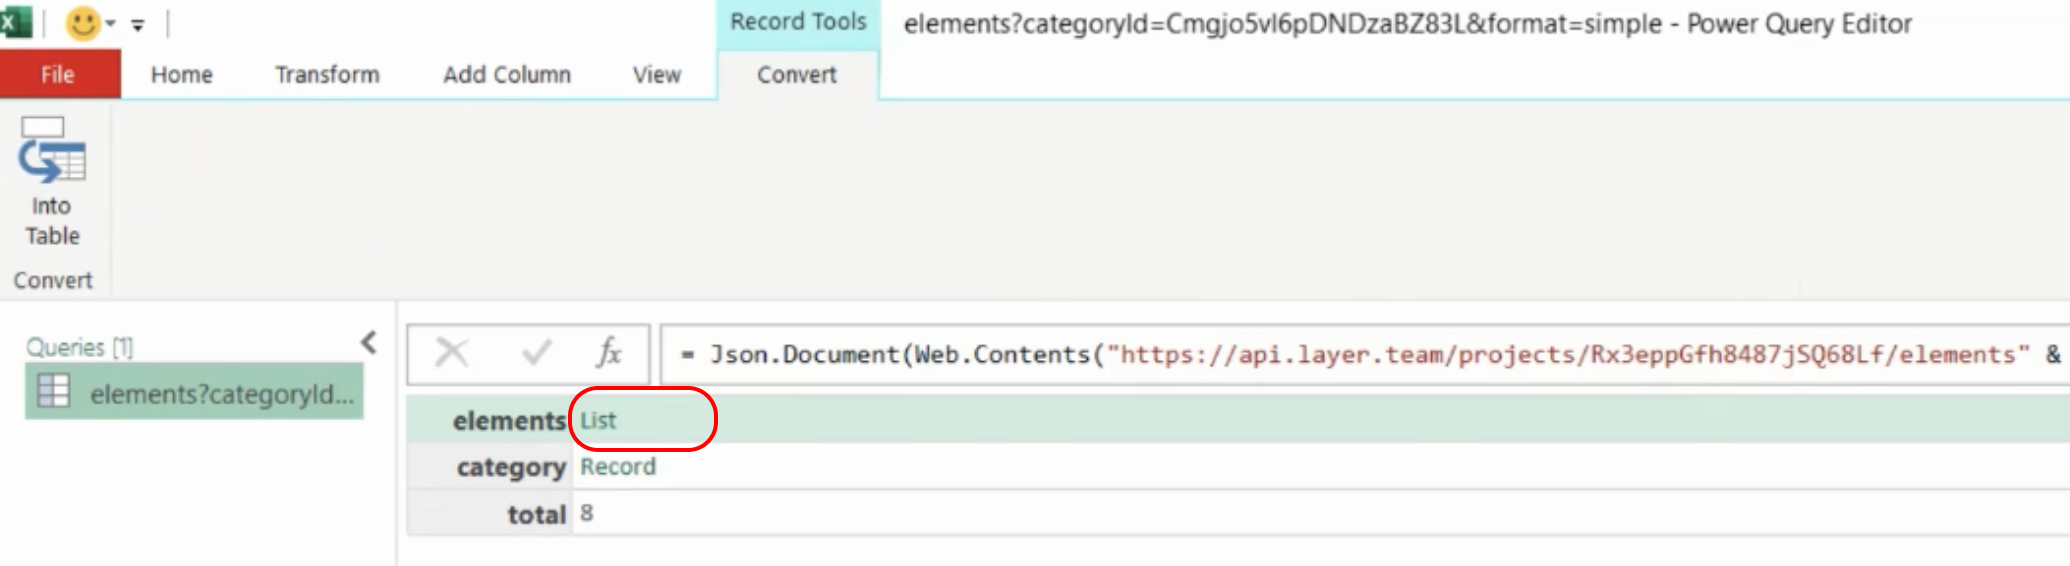
- Of the three properties shown, select the elements property and click on List. This will open up a list of all the elements in this category.
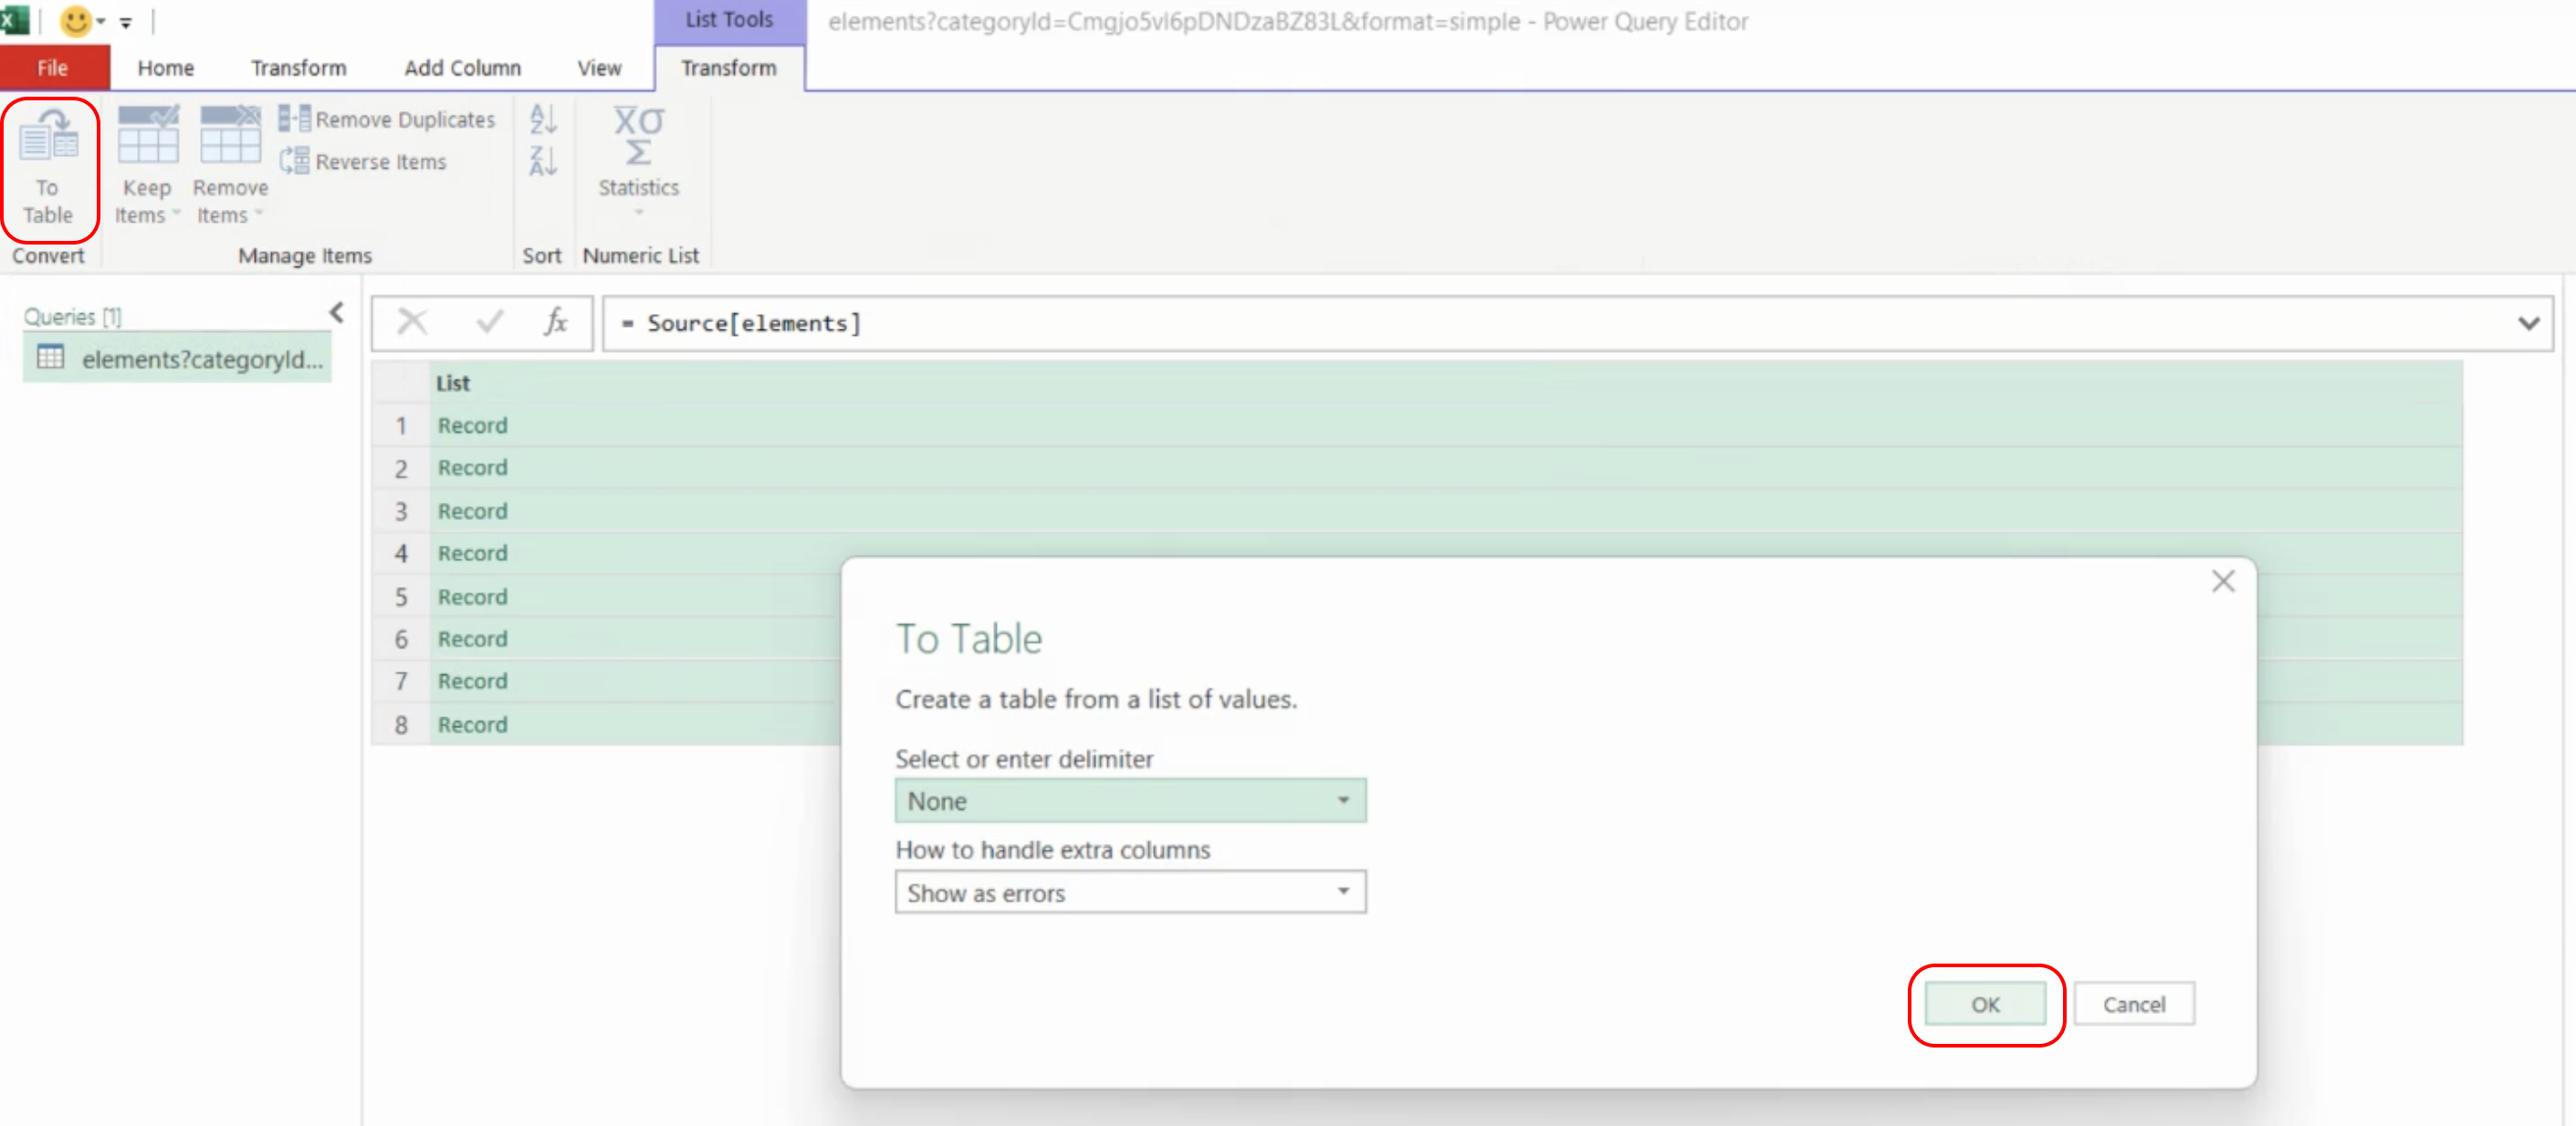
- Next we want to expose the properties for the elements. To do this we will go to the Transform tab, and click To Table. Next click OK without editing any of the options.
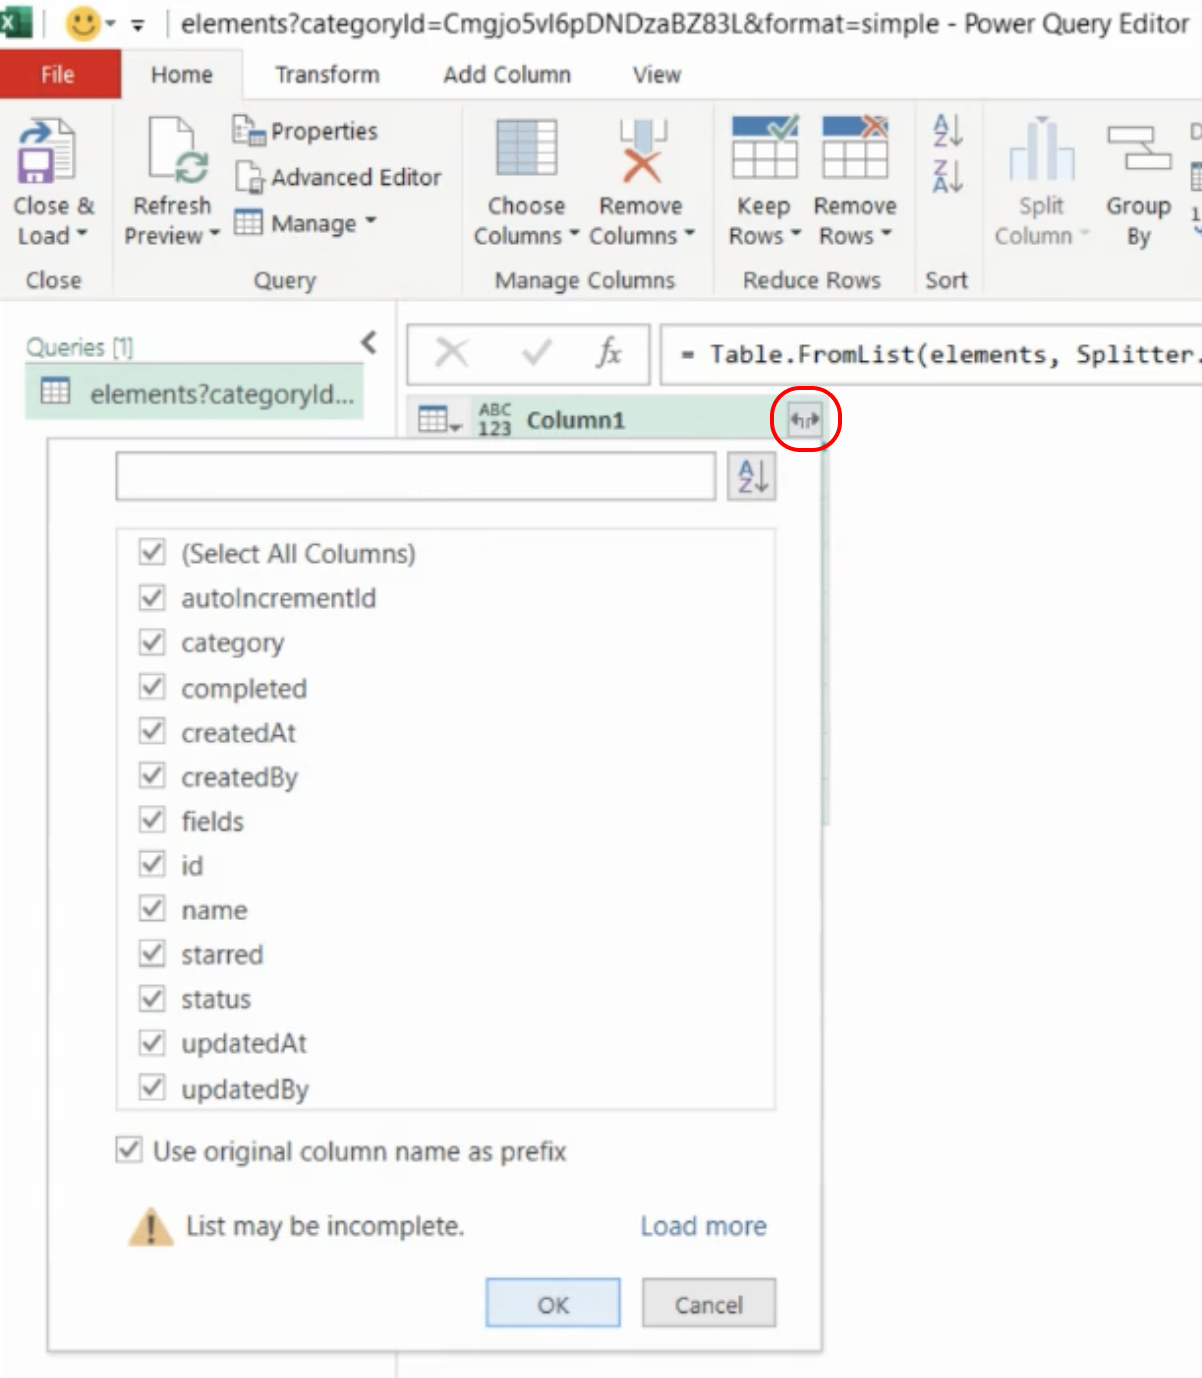
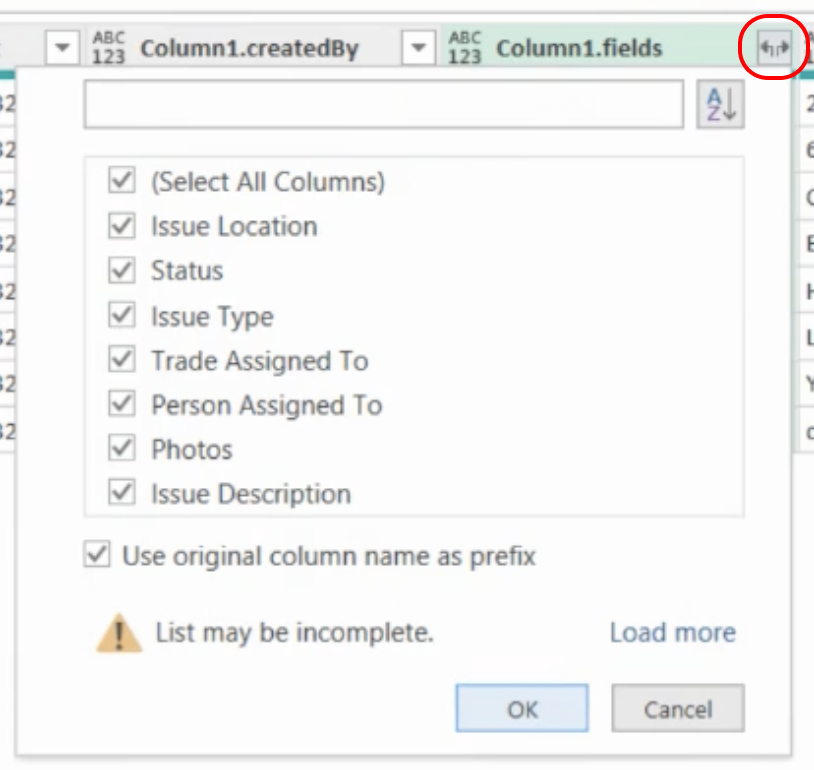
- Click the expand button (see image below) for the column that appears. We recommend checking the box for (Select All Columns), then hit OK to close this box.
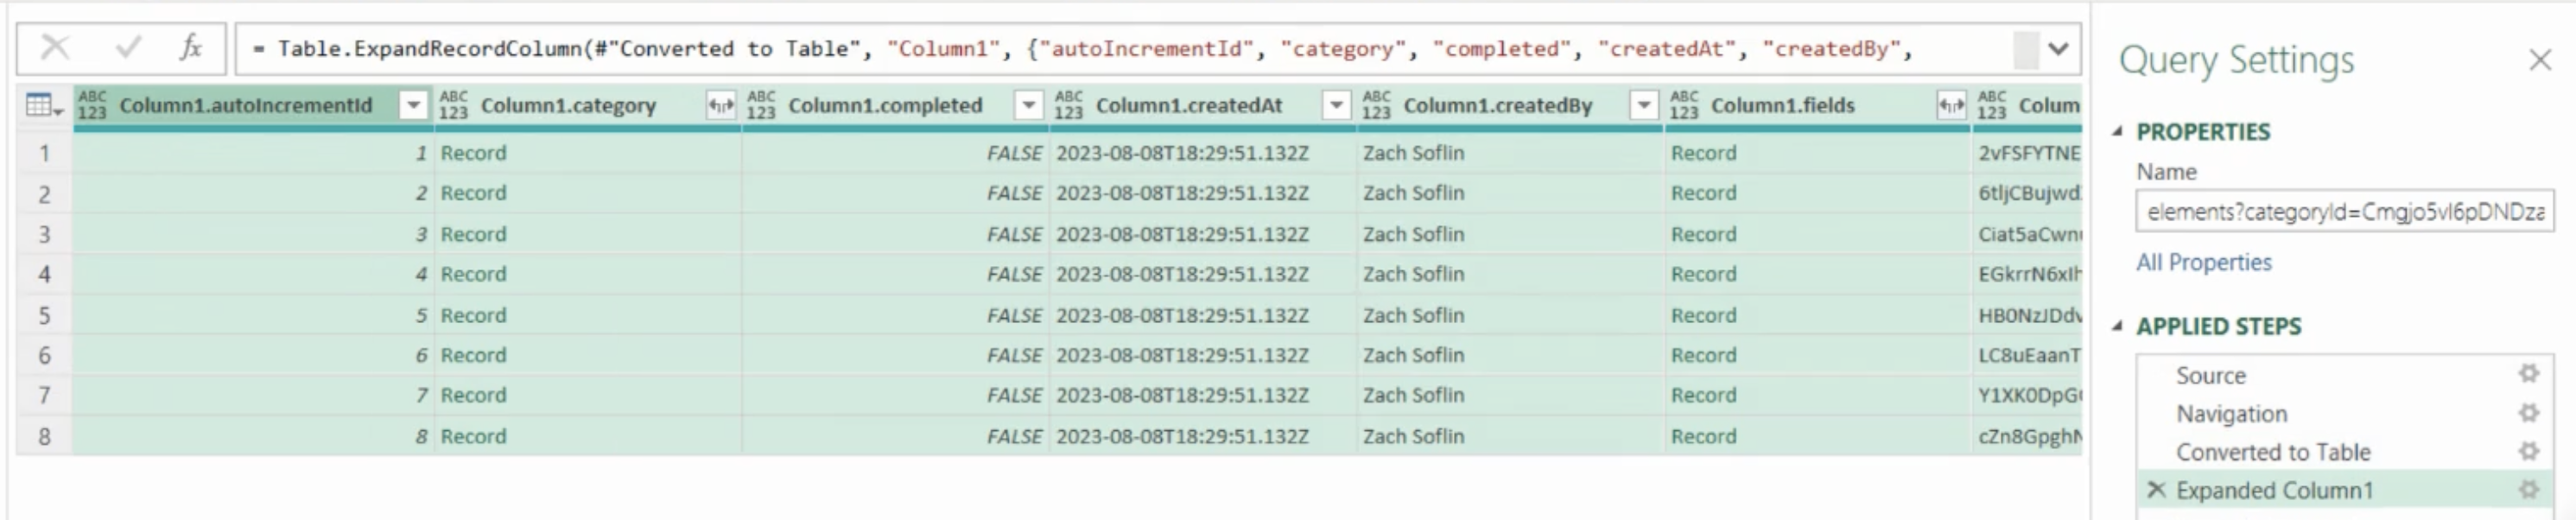
- This creates a column for each of the general properties for the elements such as (Created At, Created By etc.) You can also see on the right that the steps are logged so that they can be reapplied for any updated data that comes in. Next we'll expose the data for the Layer fields.
- To view detailed data from your Layer fields, expand the fields column (see below) and Select All Columns or choose the ones you want exposed. Click OK when done. Now you have a new column created for each of your Layer fields.
- To further customize your data, Column names can be edited by double-clicking on them. These changes will also be saved for the future and do not impact your data coming in through the API.
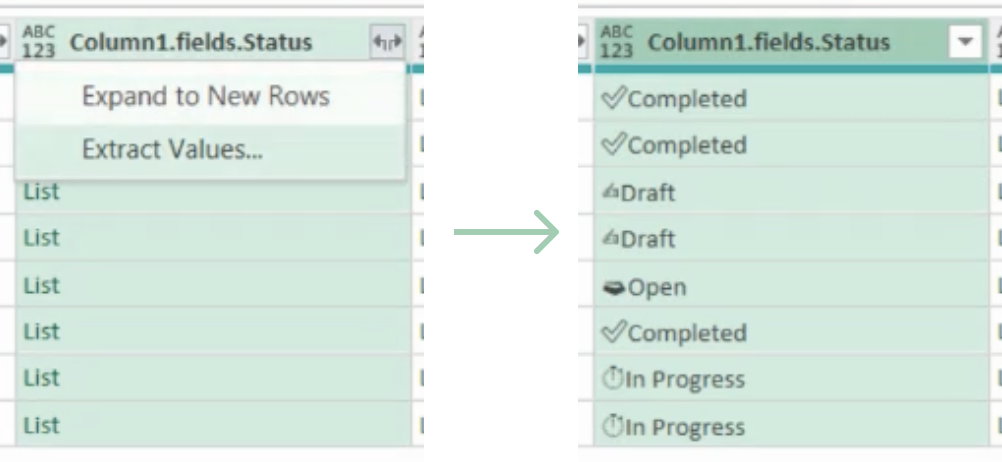
- To see the data for specific columns, for example, the Status column, click it, and choose Expand to new rows. This will replace what is shown as List with the data from the Layer fields.
7. Load Data to Excel
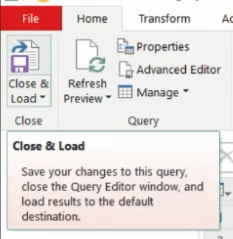
- Once satisfied with data structure, click
Close & Load.
- The data will now be displayed in your Excel sheet.

8. Refreshing Data
- Whenever there’s an update in Layer, you don’t need to repeat all the steps. The APPLIED STEPS show the actions that will be taken with any updates.
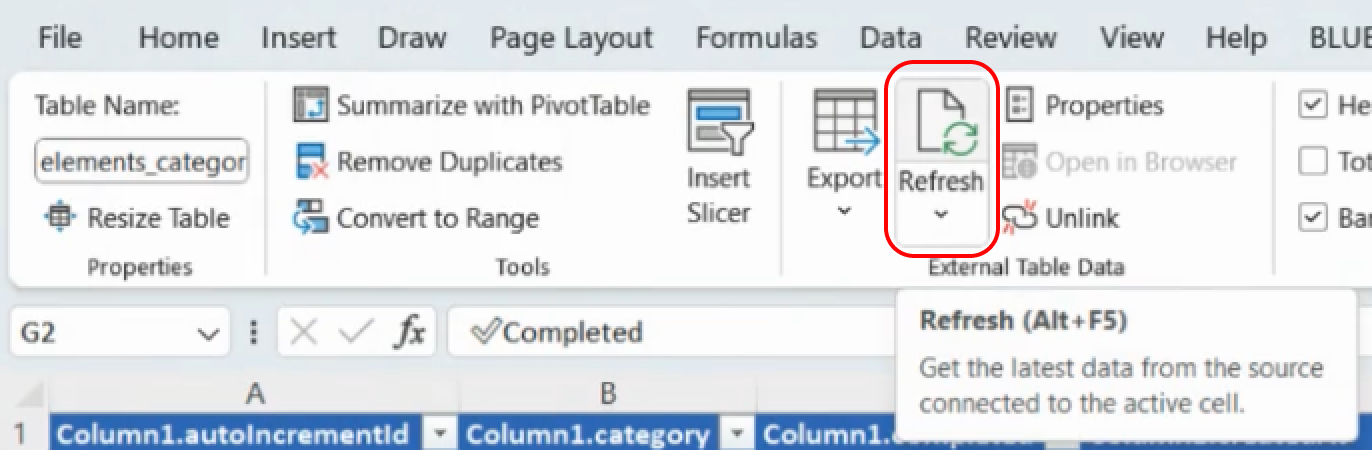
- Simply click
Refreshin Excel, and the latest data from the API call will be fetched and updated.
Conclusion
With this method, you can efficiently sync Layer data to Excel. Once set up, refreshing the data is just a click away, ensuring that your spreadsheet always has the most up-to-date information.